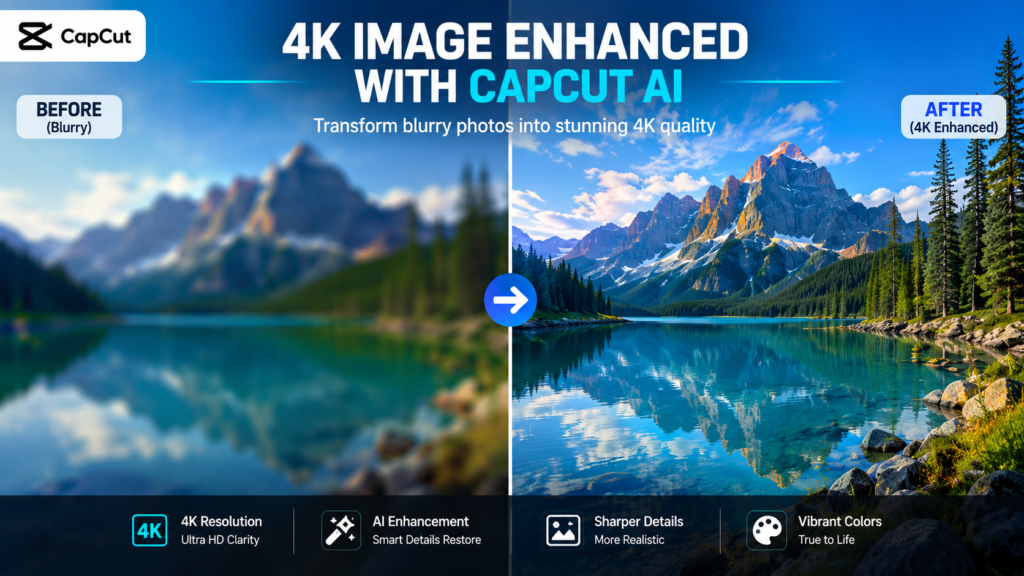
Have you ever found an old family photo, downloaded an image from social media, or received a picture on WhatsApp only to discover it looks blurry, pixelated, and unusable?
You’re definitely not alone.
Millions of people struggle with low-resolution images every day. Whether you’re a content creator, blogger, online seller, designer, or social media manager, poor-quality images can make your work look unprofessional.
Fortunately, artificial intelligence has changed everything.
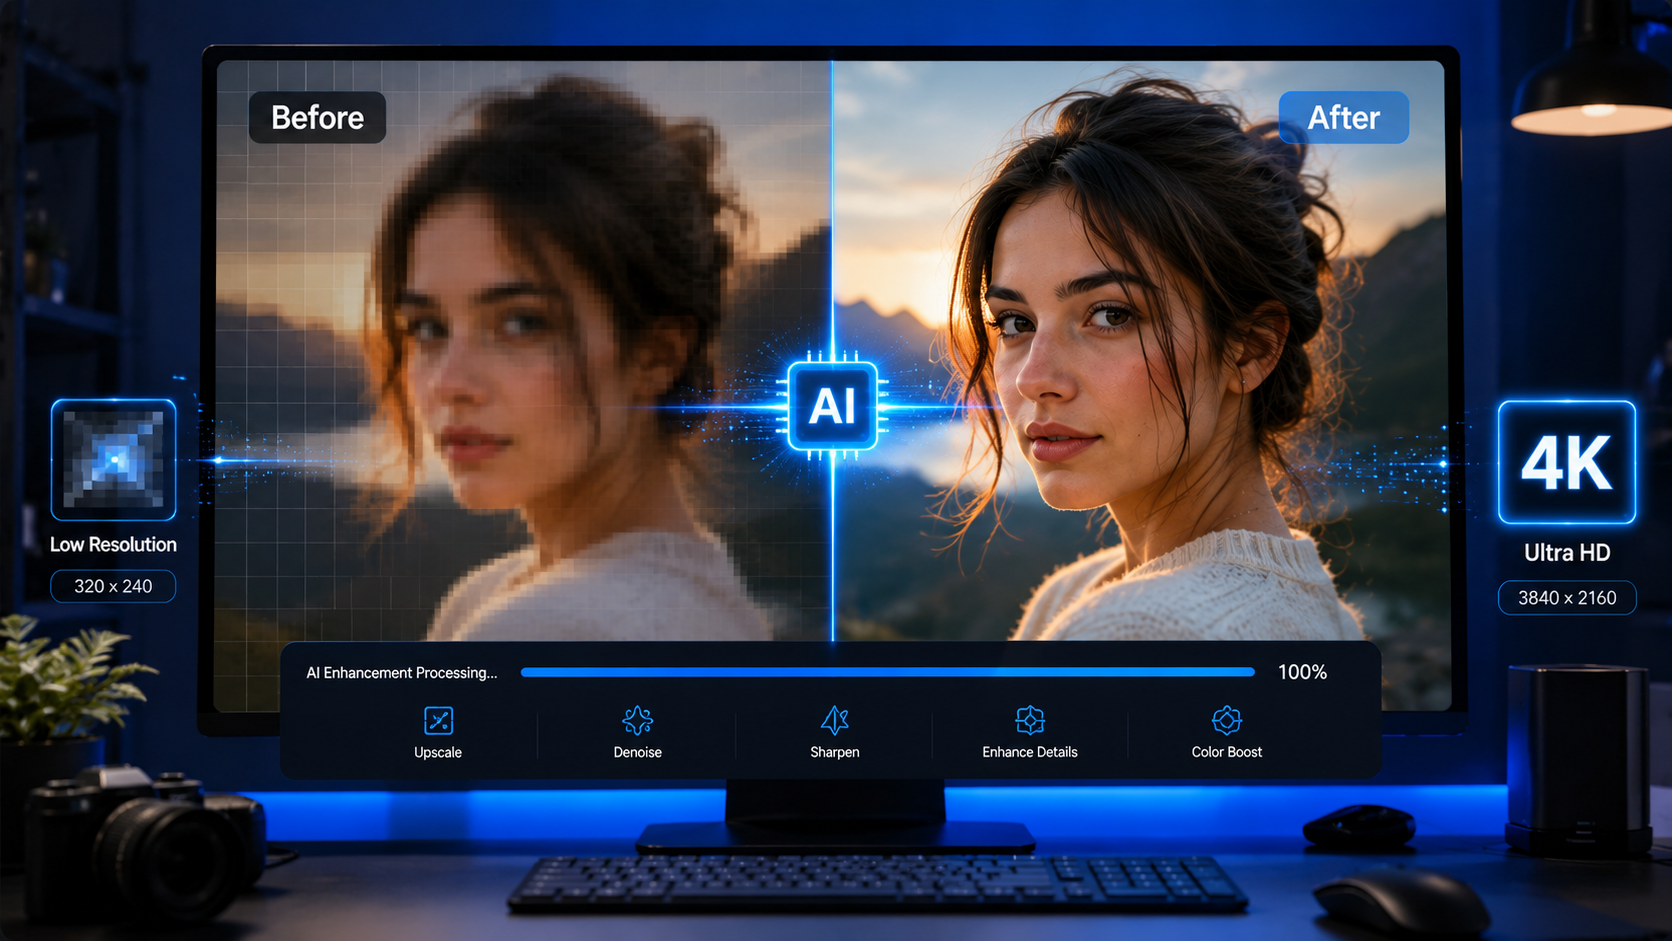
The CapCut AI Image Upscaler uses advanced machine learning to intelligently enhance photos, recover lost details, reduce blur, sharpen edges, and increase image resolution—all with just a few clicks.
Unlike traditional editing software, which often stretches pixels and creates unwanted artifacts, AI analyzes every part of your image before rebuilding it in higher quality. The result is a cleaner, sharper, and more natural-looking photo.
In this complete guide, you’ll learn exactly how to transform blurry images into stunning 4K masterpieces using CapCut AI. We’ll also cover expert tips, common mistakes, the best settings, and practical use cases to help you get the highest-quality results.
Whether you’re restoring old memories or creating professional content, this guide has everything you need.
What Is CapCut AI Image Upscaler?
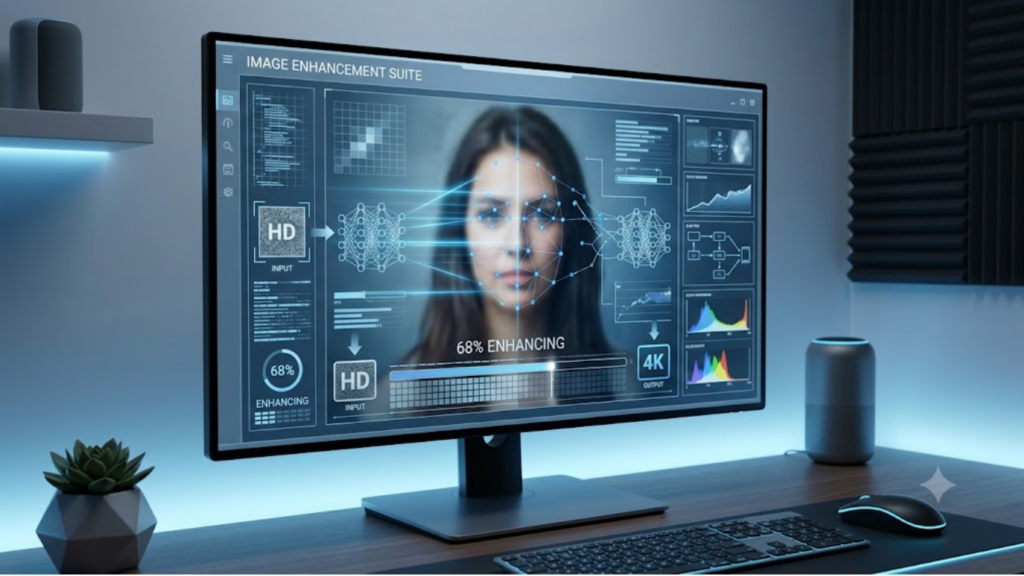
The CapCut AI Image Upscaler is an AI-powered enhancement tool designed to improve image quality automatically.
Instead of simply enlarging an image, it uses deep learning algorithms trained on millions of high-quality photos.
These algorithms can:
- Detect blurry edges
- Remove image noise
- Recover facial details
- Improve textures
- Increase resolution
- Enhance colors
- Sharpen objects
- Reduce compression artifacts
The biggest advantage is that the AI understands what different objects should look like. It recognizes faces, landscapes, buildings, pets, food, and text separately before enhancing them.
This produces much more realistic results than traditional image resizing.
Key Features
- One-click AI enhancement
- Automatic image sharpening
- Noise reduction
- Portrait enhancement
- Old photo restoration
- 4K image upscaling
- Cloud-based processing
- Beginner-friendly interface
- Fast export options
These features make CapCut one of the easiest AI image enhancement tools available today.
Why Do Images Become Blurry?
Before fixing blurry photos, it’s helpful to understand why they become blurry in the first place.
1. Low Camera Resolution
Older smartphones often captured images with fewer megapixels. When enlarged, these images lose clarity because they don’t contain enough visual information.
2. Compression
Apps like WhatsApp, Messenger, and many social media platforms automatically compress images to reduce file size. Unfortunately, this also reduces image quality.
3. Digital Zoom
Using digital zoom doesn’t actually bring objects closer. Instead, it crops and enlarges the image, causing noticeable pixelation.
4. Motion Blur
If the camera moves while taking a photo, the image may become blurry because the sensor captures movement instead of sharp details.
5. Poor Lighting
Low-light conditions force cameras to increase ISO sensitivity, creating digital noise that makes photos appear grainy and soft.
6. Repeated Saving
Every time a JPEG image is edited and saved again, it loses a small amount of quality due to compression. After multiple edits, the image may look noticeably degraded.
Understanding these causes helps you choose the right enhancement method and set realistic expectations when restoring images.
Why AI Upscaling Is Better Than Traditional Image Resizing
Many people still use basic photo editors to enlarge images. While this increases dimensions, it doesn’t actually improve quality.
Traditional software simply stretches the existing pixels.
AI works differently.
It predicts missing details based on patterns it has learned from millions of real-world images.
Traditional Resizing vs AI Upscaling
| Traditional Resizing | AI Upscaling |
|---|---|
| Stretches pixels | Creates new intelligent details |
| Adds blur | Sharpens edges |
| Creates artifacts | Removes artifacts |
| Soft textures | Realistic textures |
| Limited improvements | Significant enhancement |
| Manual editing required | Mostly automatic |
This is why AI-generated enhancements often look dramatically better than standard resizing methods.
Benefits of Using CapCut AI Image Upscaler
Using CapCut AI offers several practical advantages beyond simply making images larger.
Save Old Memories
Restore faded family photos and preserve precious memories with enhanced clarity.
Improve Social Media Posts
Sharper images attract more engagement on Instagram, Pinterest, Facebook, and X.
Better Website Performance
High-quality visuals improve user experience and make your website look more professional.
Enhance Product Images
If you sell products online, clearer photos can increase trust and improve conversion rates.
Create Professional Thumbnails
YouTube creators can produce eye-catching thumbnails that stand out in search results.
Upgrade AI-Generated Images
Images created with AI tools sometimes appear soft or low-resolution. Upscaling them can significantly improve their appearance.
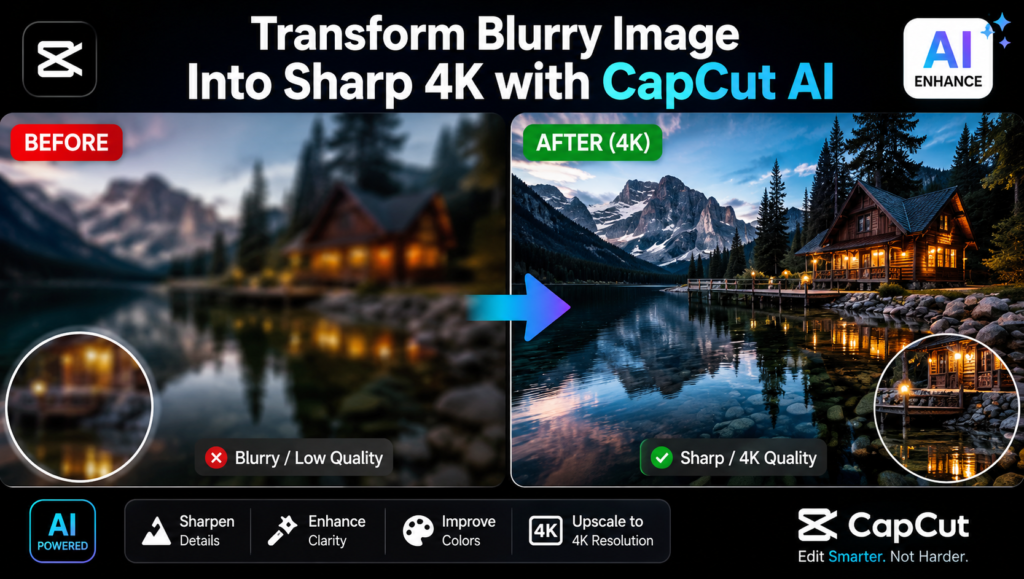
Now that you understand how AI upscaling works, let’s walk through the complete process of enhancing your images with CapCut AI Image Upscaler.
Whether you’re using the web version or the desktop app, the workflow is nearly identical.
Step 1: Open CapCut AI Image Upscaler
Launch CapCut and sign in to your account.
Navigate to the AI Tools section and select AI Image Upscaler.
If you’re using the online version, simply open the Image Upscaler tool in your browser.
Tip: For the best performance, use the latest version of CapCut.
Step 2: Upload Your Image
Click Upload and choose the image you want to enhance.
Supported images typically include:
- JPG
- JPEG
- PNG
- WEBP
For the best results:
- Use the original image whenever possible.
- Avoid screenshots of screenshots.
- Upload the highest-quality version you have.
Even blurry images can often be restored surprisingly well with AI.
Step 3: Let AI Analyze the Image
After uploading, CapCut automatically scans your photo.
The AI detects:
- Faces
- Objects
- Backgrounds
- Fine textures
- Noise
- Edges
This intelligent analysis helps the software determine which areas need sharpening and which should remain soft for a natural look.
Step 4: Choose the Upscaling Level
Depending on your version of CapCut, you may be able to select different enhancement levels.
Common options include:
- 2× Upscale
- 4× Upscale
- HD Enhancement
- 4K Enhancement
If your image is extremely small, avoid choosing the highest enlargement immediately. Instead, test different options to find the most natural result.
Step 5: Enable AI Enhancement
Turn on the available AI enhancement features, such as:
- AI Sharpen
- Noise Reduction
- Face Enhancement
- Detail Recovery
- Texture Enhancement
These tools work together to improve clarity without making the image look overly processed.
Step 6: Preview the Results
Always compare the Before and After versions.
Check for:
- Clear eyes in portraits
- Sharp edges
- Reduced blur
- Natural-looking skin
- Improved textures
- Better lighting balance
Zoom in to inspect fine details before exporting.
Step 7: Export the Enhanced Image
Once you’re satisfied with the result:
- Choose the highest quality available.
- Export in PNG if you want minimal compression.
- Use JPG for smaller file sizes when uploading to websites.
If you’re using the image on your blog, compress it slightly after exporting to improve page speed while maintaining quality.
Best Settings for Different Types of Images
Different photos require different enhancement approaches.
| Image Type | Recommended Settings |
|---|---|
| Portraits | Face Enhancement + AI Sharpen |
| Landscapes | Detail Recovery + Texture Enhancement |
| Product Photos | Sharpness + Noise Reduction |
| Old Photos | AI Restoration + Color Enhancement |
| Social Media Images | HD Upscale + Light Sharpening |
| AI-Generated Art | Texture Enhancement + 4K Upscale |
Using the right settings helps preserve a natural appearance while maximizing image quality.
Best Use Cases for CapCut AI Image Upscaler
One of the biggest strengths of the CapCut AI Image Upscaler is its versatility.
Here are some of the most popular ways creators use it.
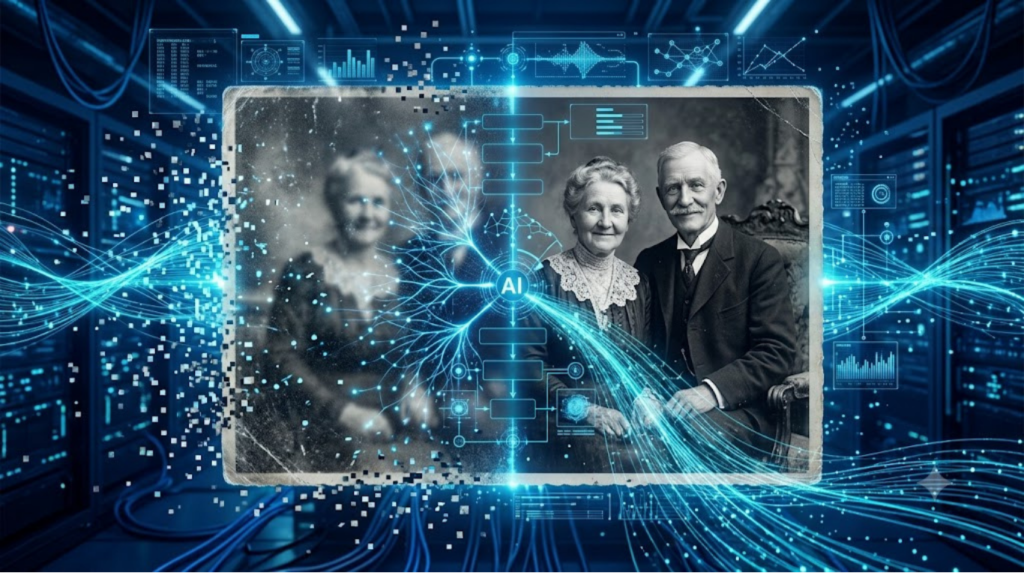
1. Restoring Old Family Photos
Old printed photographs often fade over time.
AI can help:
- Sharpen facial features
- Reduce scratches
- Improve contrast
- Restore faded details
While it can’t recreate information that never existed, it can dramatically improve the appearance of many old photos.
2. Improving Social Media Content
Platforms like Instagram, Pinterest, Facebook, and X reward visually appealing content.
Sharper images can:
- Increase engagement
- Improve click-through rates
- Enhance brand credibility
- Make posts look more professional
If you’re a content creator, image quality can directly impact your audience’s first impression.
3. Enhancing Blog Images
High-quality images make blog posts more engaging and trustworthy.
For websites like Faceless Asset, clear visuals can:
- Improve user experience
- Increase time on page
- Support SEO by encouraging visitors to stay longer
- Make tutorials easier to follow
4. Upgrading Product Photography
If you sell products online, image quality matters.
Sharper product images can:
- Highlight important details
- Build customer confidence
- Reduce return rates
- Improve conversion rates
Always start with the highest-quality original photo for the best AI enhancement results.
5. Creating Better YouTube Thumbnails
YouTube thumbnails compete for attention.
A blurry thumbnail can reduce clicks, even if the video itself is excellent.
Upscaling your thumbnail helps:
- Improve text readability
- Sharpen facial expressions
- Increase visual impact
- Create a more professional appearance
Advanced Tips for Better Results
Want to get even more from CapCut AI? Follow these expert tips.
Use the Original File
Every time an image is compressed, quality decreases.
Whenever possible, upload the original image instead of downloading it from social media.
Don’t Over-Sharpen
Too much sharpening can create:
- Halos
- Artificial textures
- Harsh skin tones
- Unnatural edges
Aim for a clean, realistic appearance.
Improve Lighting First
If the image is extremely dark, adjust brightness before running AI enhancement.
Better lighting allows the AI to detect details more accurately.
Upscale Only When Necessary
A high-resolution image doesn’t always need additional enhancement.
Upscaling an already sharp image may produce minimal improvements.
Keep a Backup
Always save the original image before editing.
This allows you to compare results or try different enhancement settings later.
Common Mistakes to Avoid
Even powerful AI tools can’t fix every issue.
Avoid these common mistakes to achieve the best possible results.
Uploading Extremely Tiny Images
A 50×50 pixel image contains very little information.
AI can improve it, but expectations should remain realistic.
Expecting Perfect Restoration
AI predicts missing details—it doesn’t magically recover information that was never captured.
While results are often impressive, they won’t always match a true high-resolution original.
Ignoring Compression
After exporting a beautiful 4K image, avoid repeatedly saving it as a low-quality JPEG.
Each save can reduce image quality.
Using AI on Heavily Edited Images
Images that already contain excessive filters, sharpening, or artifacts may produce inconsistent results.
Whenever possible, start with the cleanest version available.
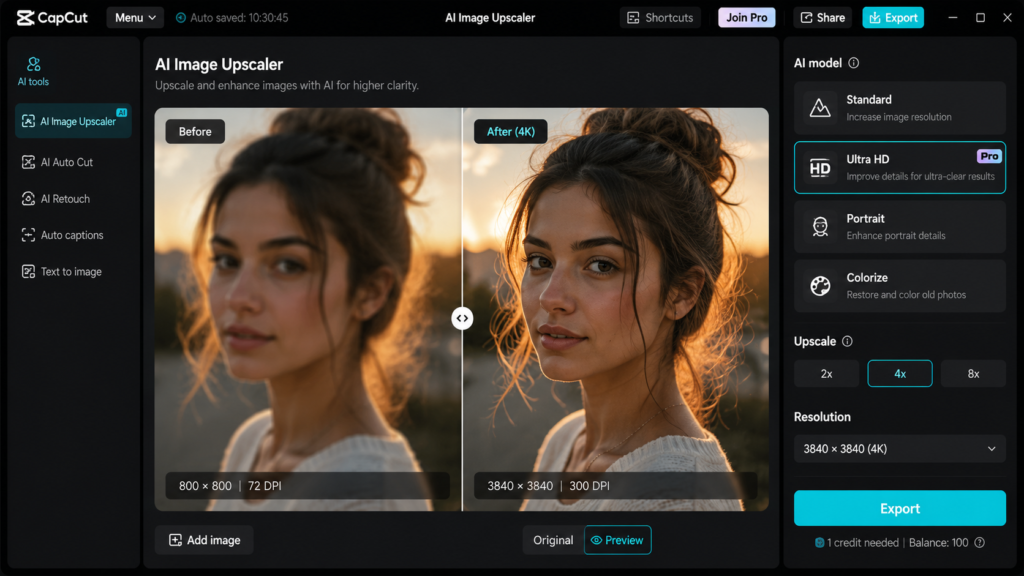
Now that you understand how AI upscaling works, let’s walk through the complete process of enhancing your images with CapCut AI Image Upscaler.
Whether you’re using the web version or the desktop app, the workflow is nearly identical.
Step 1: Open CapCut AI Image Upscaler
Launch CapCut and sign in to your account.
Navigate to the AI Tools section and select AI Image Upscaler.
If you’re using the online version, simply open the Image Upscaler tool in your browser.
Tip: For the best performance, use the latest version of CapCut.
Step 2: Upload Your Image
Click Upload and choose the image you want to enhance.
Supported images typically include:
- JPG
- JPEG
- PNG
- WEBP
For the best results:
- Use the original image whenever possible.
- Avoid screenshots of screenshots.
- Upload the highest-quality version you have.
Even blurry images can often be restored surprisingly well with AI.
Step 3: Let AI Analyze the Image
After uploading, CapCut automatically scans your photo.
The AI detects:
- Faces
- Objects
- Backgrounds
- Fine textures
- Noise
- Edges
This intelligent analysis helps the software determine which areas need sharpening and which should remain soft for a natural look.
Step 4: Choose the Upscaling Level
Depending on your version of CapCut, you may be able to select different enhancement levels.
Common options include:
- 2× Upscale
- 4× Upscale
- HD Enhancement
- 4K Enhancement
If your image is extremely small, avoid choosing the highest enlargement immediately. Instead, test different options to find the most natural result.
Step 5: Enable AI Enhancement
Turn on the available AI enhancement features, such as:
- AI Sharpen
- Noise Reduction
- Face Enhancement
- Detail Recovery
- Texture Enhancement
These tools work together to improve clarity without making the image look overly processed.
Step 6: Preview the Results
Always compare the Before and After versions.
Check for:
- Clear eyes in portraits
- Sharp edges
- Reduced blur
- Natural-looking skin
- Improved textures
- Better lighting balance
Zoom in to inspect fine details before exporting.
Step 7: Export the Enhanced Image
Once you’re satisfied with the result:
- Choose the highest quality available.
- Export in PNG if you want minimal compression.
- Use JPG for smaller file sizes when uploading to websites.
If you’re using the image on your blog, compress it slightly after exporting to improve page speed while maintaining quality.
Best Settings for Different Types of Images
Different photos require different enhancement approaches.
| Image Type | Recommended Settings |
|---|---|
| Portraits | Face Enhancement + AI Sharpen |
| Landscapes | Detail Recovery + Texture Enhancement |
| Product Photos | Sharpness + Noise Reduction |
| Old Photos | AI Restoration + Color Enhancement |
| Social Media Images | HD Upscale + Light Sharpening |
| AI-Generated Art | Texture Enhancement + 4K Upscale |
Using the right settings helps preserve a natural appearance while maximizing image quality.
Best Use Cases for CapCut AI Image Upscaler
One of the biggest strengths of the CapCut AI image upscaler is its versatility.
Here are some of the most popular ways creators use it.
1. Restoring Old Family Photos
Old printed photographs often fade over time.
AI can help:
- Sharpen facial features
- Reduce scratches
- Improve contrast
- Restore faded details
While it can’t recreate information that never existed, it can dramatically improve the appearance of many old photos.
2. Improving Social Media Content
Platforms like Instagram, Pinterest, Facebook, and X reward visually appealing content.
Sharper images can:
- Increase engagement
- Improve click-through rates
- Enhance brand credibility
- Make posts look more professional
If you’re a content creator, image quality can directly impact your audience’s first impression.
3. Enhancing Blog Images
High-quality images make blog posts more engaging and trustworthy.
For websites like Faceless Asset, clear visuals can:
- Improve user experience
- Increase time on page
- Support SEO by encouraging visitors to stay longer
- Make tutorials easier to follow
4. Upgrading Product Photography
If you sell products online, image quality matters.
Sharper product images can:
- Highlight important details
- Build customer confidence
- Reduce return rates
- Improve conversion rates
Always start with the highest-quality original photo for the best AI enhancement results.
5. Creating Better YouTube Thumbnails
YouTube thumbnails compete for attention.
A blurry thumbnail can reduce clicks, even if the video itself is excellent.
Upscaling your thumbnail helps:
- Improve text readability
- Sharpen facial expressions
- Increase visual impact
- Create a more professional appearance
Advanced Tips for Better Results
Want to get even more from CapCut AI? Follow these expert tips.
Use the original file.
Every time an image is compressed, quality decreases.
Whenever possible, upload the original image instead of downloading it from social media.
Don’t Over-Sharpen
Too much sharpening can create:
- Halos
- Artificial textures
- Harsh skin tones
- Unnatural edges
Aim for a clean, realistic appearance.
Improve Lighting First
If the image is extremely dark, adjust brightness before running AI enhancement.
Better lighting allows the AI to detect details more accurately.
Upscale Only When Necessary
A high-resolution image doesn’t always need additional enhancement.
Upscaling an already sharp image may produce minimal improvements.
Keep a Backup
Always save the original image before editing.
This allows you to compare results or try different enhancement settings later.
Common Mistakes to Avoid
Even powerful AI tools can’t fix every issue.
Avoid these common mistakes to achieve the best possible results.
Uploading Extremely Tiny Images
A 50×50 pixel image contains very little information.
AI can improve it, but expectations should remain realistic.
Expecting Perfect Restoration
AI predicts missing details—it doesn’t magically recover information that was never captured.
While results are often impressive, they won’t always match a true high-resolution original.
Ignoring Compression
After exporting a beautiful 4K image, avoid repeatedly saving it as a low-quality JPEG.
Each save can reduce image quality.
Using AI on Heavily Edited Images
Images that already contain excessive filters, sharpening, or artifacts may produce inconsistent results.
Whenever possible, start with the cleanest version available.
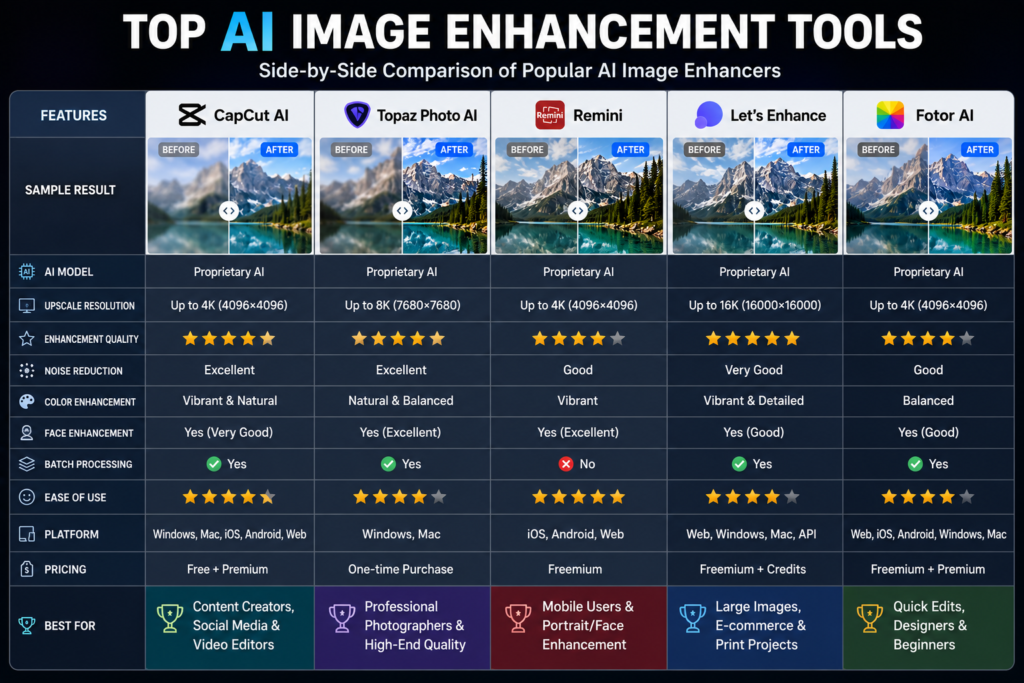
CapCut AI Image Upscaler vs Other AI Image Enhancement Tools
There are many AI image enhancers available today, but each one has its strengths and weaknesses. Choosing the right tool depends on your needs, budget, and workflow.
| Feature | CapCut AI | Adobe Express | Canva | Remini |
|---|---|---|---|---|
| AI Upscaling | ✅ | ✅ | ✅ | ✅ |
| Face Enhancement | ✅ | Limited | Limited | Excellent |
| Noise Reduction | ✅ | ✅ | Basic | ✅ |
| 4K Export | ✅ | Depends on plan | Depends on plan | Limited |
| Beginner Friendly | ⭐⭐⭐⭐⭐ | ⭐⭐⭐⭐ | ⭐⭐⭐⭐⭐ | ⭐⭐⭐⭐ |
| Free Version | Yes | Yes | Yes | Limited |
Why CapCut Stands Out
CapCut has become a favorite among creators because it combines simplicity with powerful AI features. Instead of switching between multiple apps, you can enhance images, edit videos, remove backgrounds, and create professional content all in one platform.
If you’re already using CapCut for video editing, its AI Image Upscaler fits naturally into your workflow.
Pro Tips for Getting the Best 4K Results
Want your enhanced images to look even better? Follow these expert tips.
1. Start With the Highest-Quality Original
AI performs best when it has more information to work with. Always use the original camera file whenever possible.
2. Avoid Multiple Upscaling Passes
Running the same image through AI several times may create unnatural textures and oversharpened details.
Instead, upscale once using the best settings.
3. Check Images at 100% Zoom
Always inspect your image at full size before exporting.
Look for:
- Artificial edges
- Skin smoothing
- Halo effects
- Missing details
- Noise
If something looks unnatural, reduce the sharpening slightly.
4. Match the Image to Its Purpose
Different projects require different resolutions.
For example:
- Blog images: 1200–1600 pixels wide
- Pinterest Pins: 1000 × 1500 pixels
- Instagram Posts: 1080 × 1080 pixels
- YouTube Thumbnails: 1280 × 720 pixels
- Print Projects: 300 DPI or higher
Choosing the correct dimensions helps maintain quality without creating unnecessarily large files.
5. Optimize Images for SEO
Large image files can slow down your website.
Before uploading:
- Compress images without noticeable quality loss.
- Use descriptive file names.
- Add keyword-rich alt text.
- Choose WebP format when supported.
These simple steps improve both page speed and search engine optimization.
SEO Benefits of High-Quality Images
Many website owners focus only on keywords and backlinks, but image quality also contributes to a better user experience.
Clear, optimized visuals can:
- Increase time spent on your page.
- Reduce bounce rates.
- Improve engagement.
- Enhance your site’s professionalism.
- Support image search visibility.
For example, instead of naming an image IMG12345.jpg, use a descriptive filename such as:
capcut-ai-image-upscaler-before-after-4k.webp
This helps search engines understand your content.
Who Should Use CapCut AI Image Upscaler?
The tool is useful for many types of users, including:
- Bloggers
- YouTubers
- Graphic designers
- Digital marketers
- Social media managers
- E-commerce store owners
- Students
- Freelance designers
- Photographers
- Small business owners
Whether you’re restoring an old family photo or preparing product images for an online store, AI upscaling can save time while delivering impressive results.
Frequently Asked Questions (FAQs)
1. Can CapCut AI really turn blurry images into 4K?
Yes. CapCut AI can intelligently increase image resolution and improve clarity. However, the final result depends on the quality of the original image. Extremely low-quality images may improve significantly, but they won’t always match a true 4K photo captured by a high-end camera.
2. Is CapCut AI Image Upscaler free?
CapCut offers many AI tools for free, while some advanced features may require a premium subscription. Feature availability can vary over time, so check the latest pricing within the app.
3. Does AI upscaling reduce blur?
Yes. AI upscaling helps reduce blur by sharpening edges, enhancing textures, and reconstructing missing details. While it cannot recover information that was never captured, it often produces noticeably clearer images.
4. Can I restore old family photos with CapCut AI?
Absolutely. CapCut AI is effective for improving faded or low-quality old photos by enhancing details, reducing noise, and improving overall clarity. Results will vary depending on the condition of the original image.
5. What image formats does CapCut support?
CapCut commonly supports popular formats such as JPG, JPEG, PNG, and WEBP. Export options may differ depending on the platform you’re using.
6. Is CapCut better than traditional image resizing?
In most cases, yes. Traditional resizing simply enlarges pixels, while AI analyzes the image and creates more realistic details, resulting in a sharper and more natural-looking output.
Final Thoughts
Blurry and low-resolution images no longer have to limit your creativity. Thanks to the CapCut AI Image Upscaler, anyone can transform ordinary photos into sharper, cleaner, and more professional-looking visuals with minimal effort.
Whether you’re restoring cherished family memories, improving blog graphics, designing eye-catching social media posts, or creating high-converting product images, AI-powered enhancement makes the process faster and more accessible than ever.
Remember these best practices:
- Start with the highest-quality original image available.
- Use AI enhancement thoughtfully without overprocessing.
- Export at the appropriate resolution for your project.
- Optimize images for web performance and SEO before publishing.
As AI technology continues to evolve, image enhancement tools will become even more powerful. Learning how to use them today gives you a valuable advantage as a content creator, marketer, or business owner.
If you haven’t tried the CapCut AI Image Upscaler yet, now is the perfect time to see how it can transform your workflow and elevate the quality of your visual content.